Deploy an MDB Instance
blockpoint provides a large range of instance options and prices. The Sandbox option provides a small-scale deployment option for getting familiar with bSQL and is recommended for beginners.
Prefer learning via video, watch the tutorial here!
Procedure
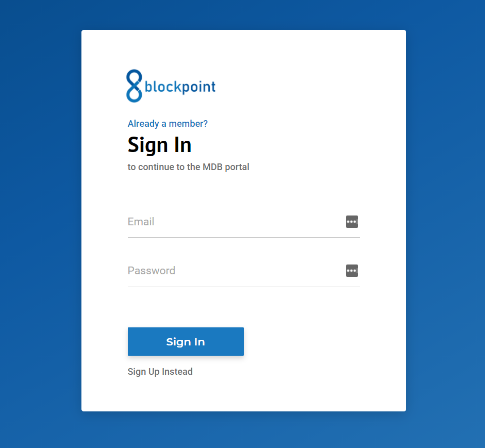
Log into blockpoint
Once you are logged into your blockpoint portal account you can create a new database. If you don't have an account you can get started here.
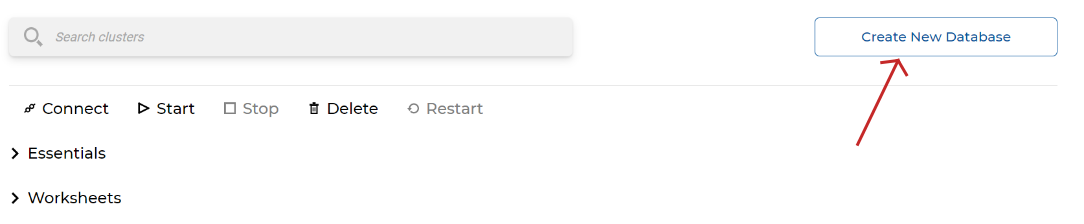
Click Create New Database
On the home page you can view your existing instance and deploy a new ones.
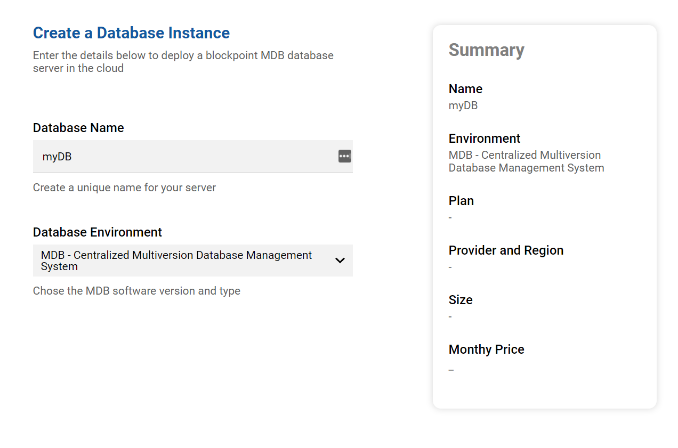
Configure your Database
This page requires the following information:
- Database Name: A unique name for your new instance, in this case our database is named "myDB".
- Database Environment: The type of instance you'd like to deploy. Currently, only a centralized version of the database is available.
Select Plan & Size
After configuring instance metadata, you'll need to select your plan and cloud configurations.
- Plan: the type of instance you would like to deploy, since we would like to play with the database we selected the "Sandbox" tier.
- Cloud Provider: the type of instance you would like to deploy, since we would like to play with the database we selected the "Sandbox" tier.
- Cloud Region: where you'd like to deploy your instance. For this demonstration we chose US East.
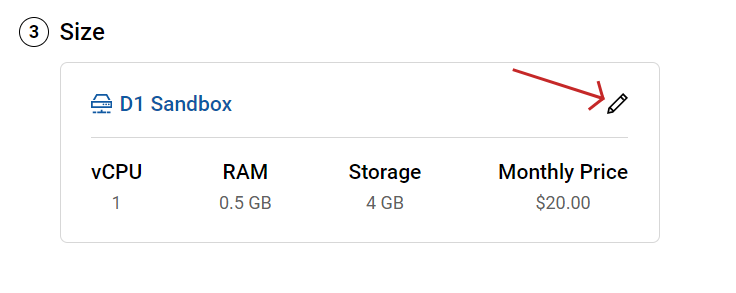
- Size: displays the machine specs for your current selection. If this machine doesn't fit your business needs, you can customize your machine.
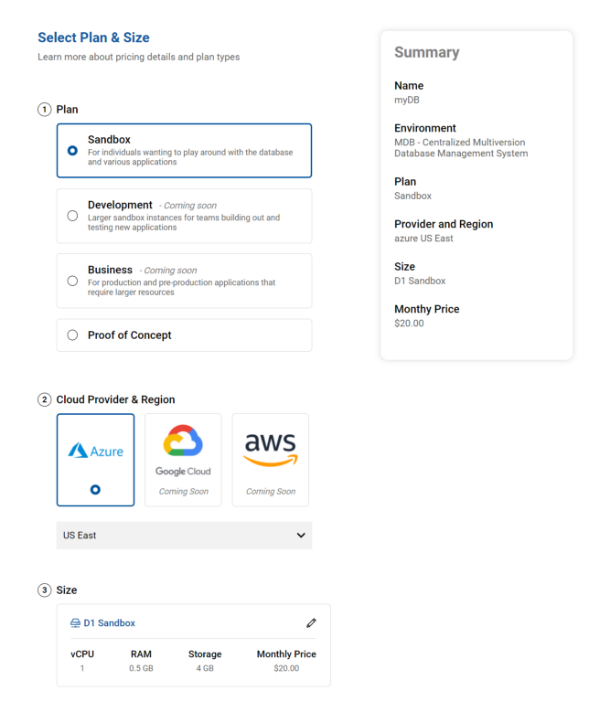
The Summary description on the right side of the page shows information about the instance you are about to deploy. If this information looks incorrect you can go back and update the information by clicking the back button at the bottom of the page.
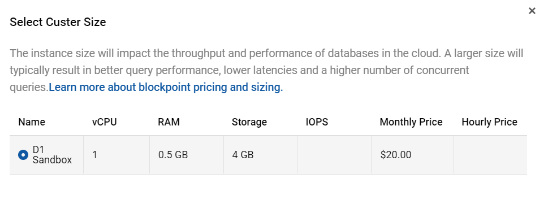
Set Machine Specs
By clicking on the pencil icon you will open the machine specifications dialogue.
The machine specs window allows you to choose your instance tier. Different plans (Sandbox, Development, Business) consist of an array of machine specs. There is only one option for the sandbox tier, the D1 Sandbox instance and it's selected by default.
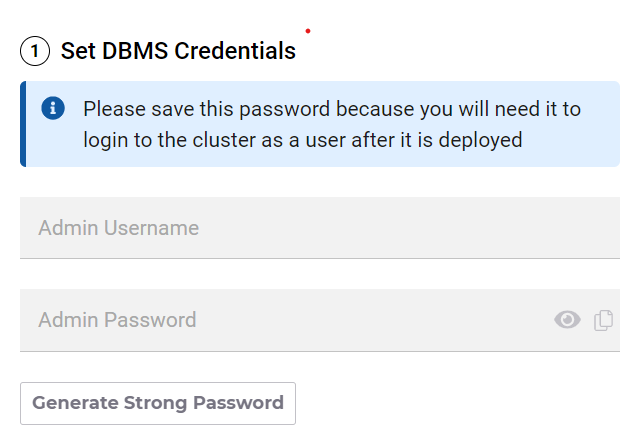
Set Administrator
After clicking next, you will be taken to the admin and dns spec setup page. The following field are required to deploy an instance:
- Admin Username: The username of the database principal to own the instance to be deployed.
- Admin Password: A strong password for login into the root account of the instance.
Set DNS Route
Sets the connection address for communicating with the newly deployed instance. The DNS route must be globally unique so pick a non-generic name for your instance.

After clicking the Create button, an instance will start deploying and should be accessible after a few minutes.
Next Steps
Now that your instance has been provisioned, you can create a database in your instance and start building!